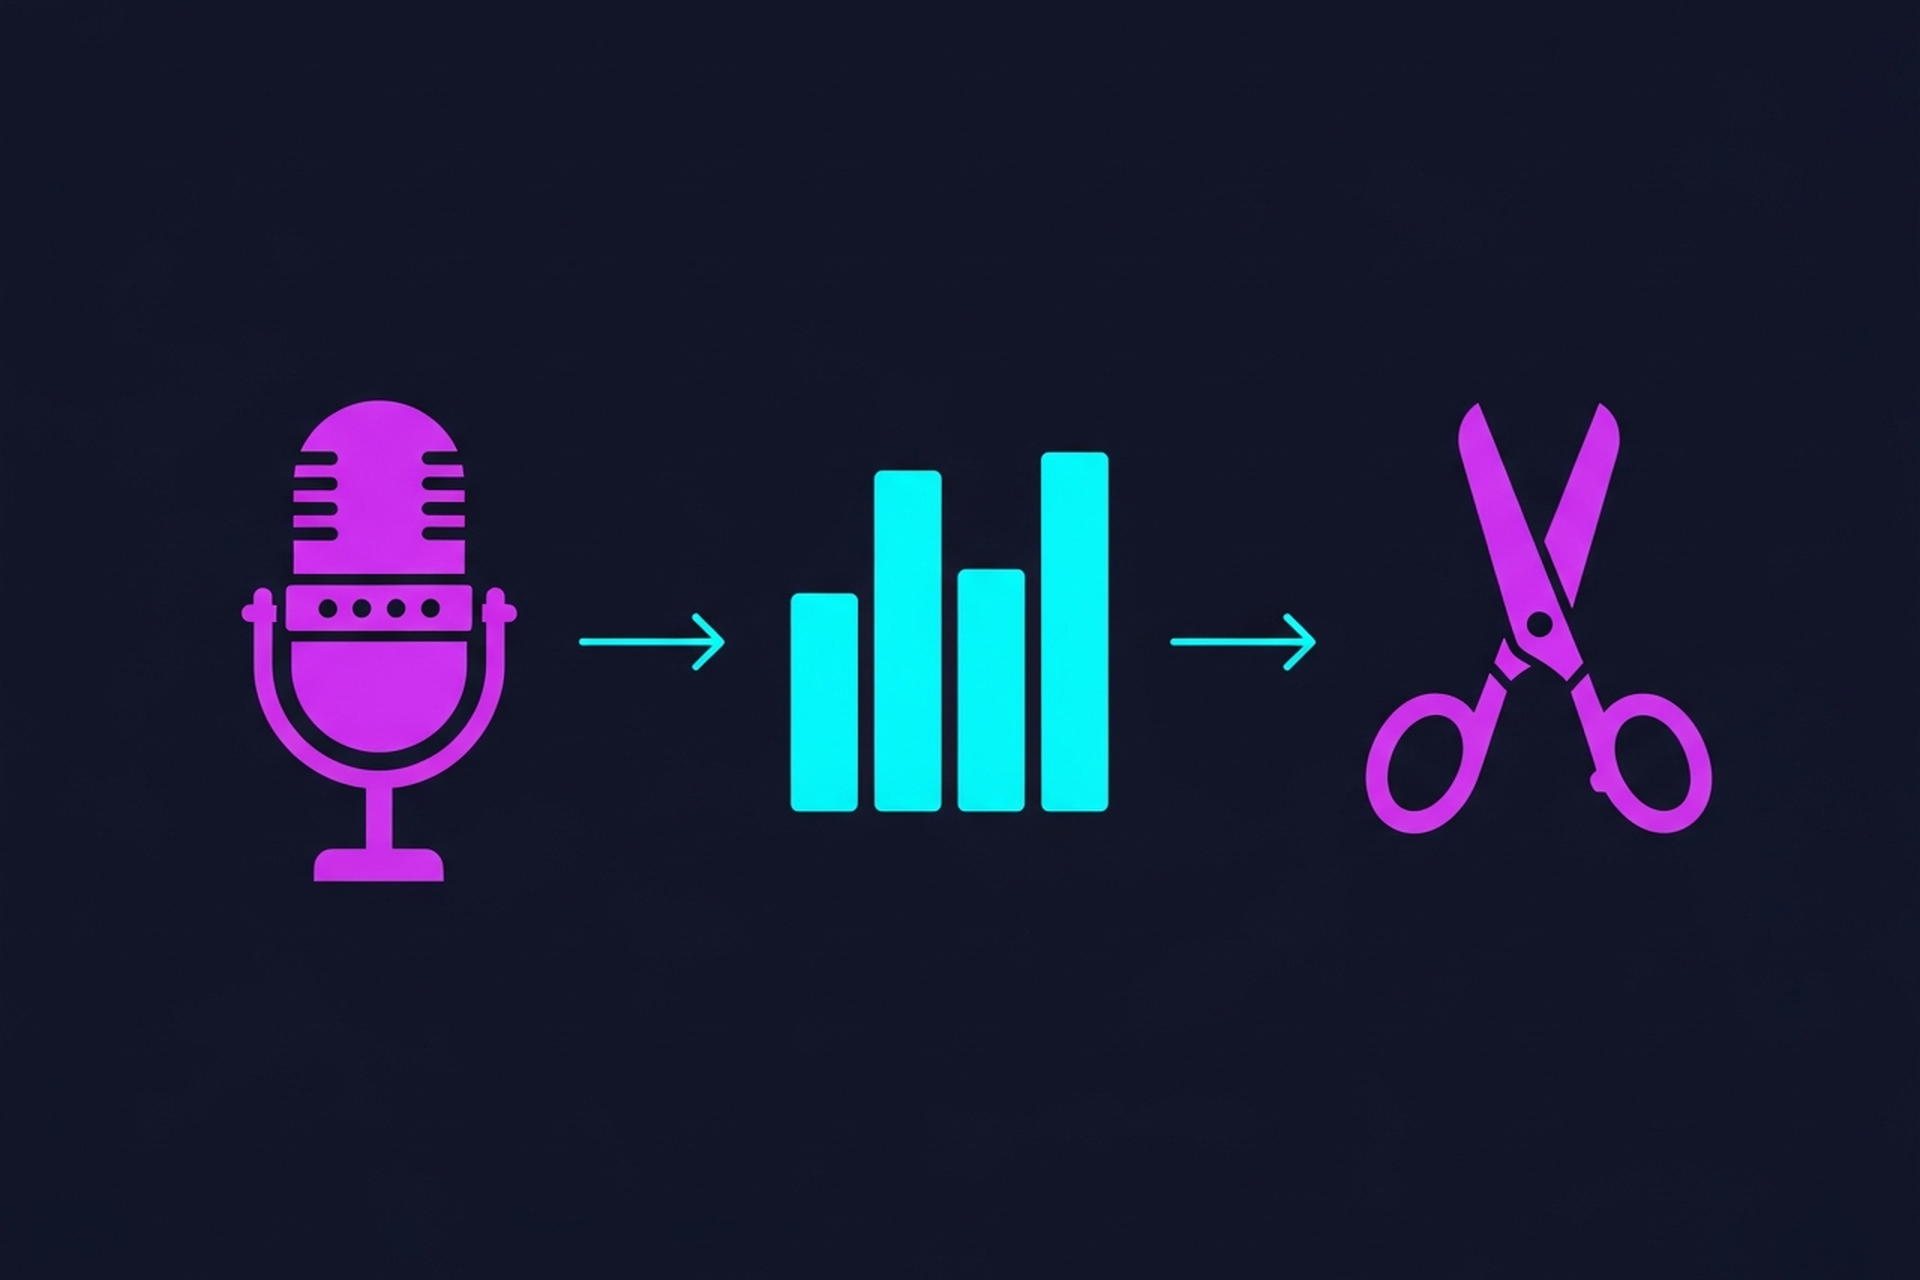

WAV files are the standard output from professional recording setups, remote recording platforms like Riverside, and most standalone recorders. They are uncompressed, high-quality, and large. If your recording workflow delivers WAV files, understanding how to edit them efficiently is a core production skill.
This guide covers what you actually need to know: the right tools, the editing steps in order, what to do about common problems, and when the complexity of WAV editing suggests it is time to hand off post-production to someone else.
WAV (Waveform Audio File Format) stores audio without compression. An hour of stereo audio at 44.1kHz, 16-bit is roughly 300MB as a WAV file versus 50-60MB as a 128kbps MP3.
The reason to work in WAV format is quality preservation during editing. Every time you process audio (apply EQ, compress dynamics, reduce noise) on a lossy format like MP3, there is a small quality degradation. Editing WAV files preserves the full audio quality through every processing step. You convert to MP3 at the end, just before delivery.
For B2B podcast production, the workflow is: record as WAV, edit as WAV, export as MP3 for delivery.
Audacity handles WAV files natively and is the most widely used free option. It supports all common editing operations, can apply effects and processing, and exports to MP3 with the LAME encoder installed.
Limitations: the interface requires some learning, and the effects chain is less automated than professional tools. But for a team starting out, Audacity is a capable choice.
Adobe Audition is the professional standard for podcast audio editing. Its spectral frequency display lets you identify and remove specific unwanted sounds. It has strong batch processing tools, noise reduction, loudness normalization, and clean multi-track support.
If your team is already on Adobe Creative Cloud, Audition is included and is likely the best choice for WAV editing.
Reaper handles WAV files with the same capability as professional-grade DAWs. It is lightweight, customizable, and used by professional audio engineers who need a fast, reliable DAW without the Adobe subscription cost. The learning curve is real, but Reaper rewards teams that invest the time.
Logic Pro handles WAV files cleanly and includes solid noise reduction and EQ tools. The one-time $199 purchase makes it attractive for Mac teams that want professional-grade editing without ongoing subscription costs.
Before opening any file in an editor, set up a clean folder structure. Create a session folder with subfolders for raw files, edited files, and exports. Name files consistently: [episode-number]_[guest-name]_[date]_raw.wav.
This sounds trivial. It saves significant time when you are looking for a source file six episodes in.
Open the WAV file in your editor and do a full listen-through before making any edits. Mark timestamps for:
Do not start cutting immediately. A full review pass produces better editorial decisions and prevents you from missing something important.
Remove the parts that should not be in the final episode. This includes:
When removing a section, listen to the edit point. The transition should sound natural. If it feels abrupt, add a short room tone fill or crossfade the cut.
Apply noise reduction before any dynamic processing. If you apply compression before removing noise, the compressor amplifies the noise floor along with the speech.
In Audacity: select a section of room tone (silence with ambient noise), run the Noise Profile step, then apply Noise Reduction to the full track. Start with mild settings (6-12dB reduction) and increase only if needed. Aggressive noise reduction introduces artifact sounds that are worse than the original noise.
In Adobe Audition: use the Capture Noise Print function in the Noise Reduction effect. The process is similar but provides more control over the reduction parameters.
EQ shapes the tonal character of the voice. For podcast voice editing, the standard moves are:
High-pass filter at 80-100Hz. This removes low-end rumble from handling noise, HVAC systems, and room resonance. Voice does not have meaningful content below 100Hz. Apply this first.
Presence boost (2-5kHz). A gentle 2-3dB boost in the upper midrange adds clarity and intelligibility to voice recordings. This is the frequency range where consonants live.
De-essing if needed. Sibilant "s" and "sh" sounds can become harsh on some microphone and room combinations. A de-esser or a narrow cut at 6-8kHz addresses this.
Avoid large EQ moves. If a recording needs more than 4-5dB of correction in any band, there was likely a problem with capture that EQ cannot fully fix.
Dynamics processing controls the volume range of the recording. Two tools are relevant here:
Compressor. Reduces the volume difference between loud and quiet moments. A moderate ratio (3:1 to 4:1) with a threshold set around -18dB works for most podcast voice recordings. The goal is consistent level, not squashed audio.
Limiter. Prevents peaks from exceeding a set ceiling. Set a limiter at -1dBTP (true peak) on the master output to prevent clipping during export.
Podcast platforms have loudness standards. Spotify and Apple Podcasts normalize to approximately -14 LUFS (integrated). The common industry target for podcast delivery is -16 LUFS integrated, -1dBTP.
Adobe Audition has a Match Loudness function that handles this automatically. In Audacity, the Loudness Normalization effect achieves the same result manually. In Reaper or Logic Pro, a limiter and a loudness meter plugin achieve the same target.
Do not skip this step. Inconsistent loudness across episodes is one of the most common complaints listeners have about B2B podcasts.
Export the final file as:
Keep the edited WAV file in your archive. If the platform changes requirements or a clip request comes in later, you will want the uncompressed source.
Clipping (distortion from too-hot recording). The audio waveform has flat peaks rather than smooth curves. Mild clipping can be partially repaired with Adobe Audition's DeClipper or iZotope RX. Heavy clipping is not repairable: the data is gone. Prevention (proper gain staging during recording) is the only real solution.
Inconsistent volume between speakers. Common in two-person interviews where one guest records louder than the other. Fix with per-track compression before mixing. Multi-track editing tools handle this better than single-track editors.
Reverb and echo. Caused by recording in a large, reflective room. Audition's DeReverb and iZotope RX's De-reverb tools reduce it partially. Heavy reverb is difficult to fix in post; acoustic treatment at the recording stage is more effective.
Hum at 60Hz (North America) or 50Hz (Europe). Caused by electrical interference. A narrow notch filter at the hum frequency removes it cleanly.
If you are working with audio recorded through audio recording programs, most professional tools output WAV by default. The editing steps above apply regardless of which DAW you use.
For teams evaluating whether to handle WAV editing in-house or outsource it: the workflow above takes 2-4 hours per hour of recorded audio for a reasonably experienced editor. For B2B teams publishing weekly, that is a significant internal resource commitment.
An hour of B2B podcast audio, edited to professional standards, involves:
Total: 2-3 hours for a 45-minute episode with minimal issues. Add time for multiple speakers, audio problems, or complex edits.
For many B2B marketing teams, hiring a podcast production services provider to handle the editing workflow costs less in real terms than the labor hours required to do it internally.
Podsicle Media handles WAV editing, noise reduction, loudness normalization, and delivery for B2B companies that want professional audio without managing the post-production workflow.
Contact us to discuss what done-for-you podcast editing looks like for your team.